One of the things that is very important to us at Smart Chicago is documenting the work. Documenting the work enables us to share the things we’ve learned and to showcase the progress being made.
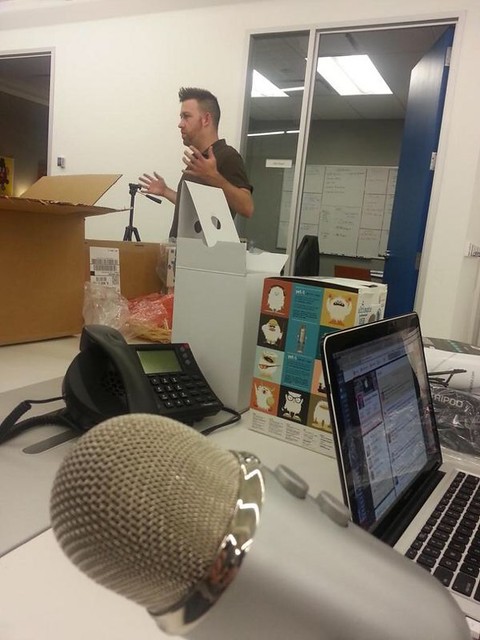
Whitaker unboxing the new equipment
For the Chicago School of Data Conference, we wanted to upgrade our video capabilities. because documenting the conversation is going to be super-important for our final deliverable, which will be an overall report on the ecosystem. Over the last year, we’ve learned a few lessons in terms of how to run a good live stream and some of the weaknesses of the current set-up. To review, here’s our current set-up and some of our issues with it.
Logitech HD Pro C920 Webcam:
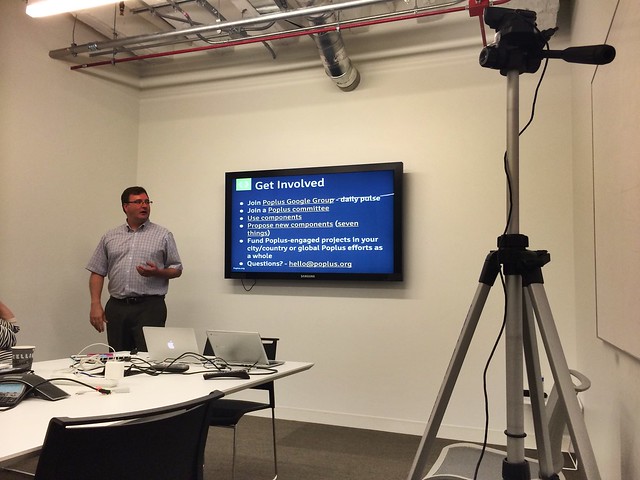
Even a year after our initial purchase, this camera is still one of the best out there for what we need. The camera has microphone inside and it’s small size makes it easy to carry. The picture quality is great. If you’ve watched our live stream and noticed some pixelation – that’s coming from a bad connection through Google Hangout – and not the camera.
The camera comes with a microphone, although if a room is too noisy the microphone tends to pick up on those sounds more than the speaker. Moving the camera to a position away from attendees and closer to the speaker generally keeps this issue to a minimum. However, the sound is one of the bigger issues we have. When we edit the videos, a lot of the time we’ll boost the sound. There have been a few times – for example, when the room gets super crowded or the AC is on – that we’ve been unable to use a video because we can’t get the sound right.
That said, the Logitech HD Pro is still one of the best cameras that are out there. We actually purchased two more of these cameras as part of our upgrades.
Vista Portable Tripod
It’s best to film speakers at eye level. In order to do this, we use a Vista Explorer 60 inch lightweight tripod ($25). It features a quick-release fitting for the camera and can be set up and broken back down in less than 2 mins. This tripod is also very light with me being able to commute with it on the CTA with little issue. You do have to remember to loosen the top ring to make swiveling the camera easy. If you keep it too tight, the camera can hear the tripod squeaking as you move the camera.
The issue with this tripod is that it isn’t tough. We carry this around to a *lot* of places and it’s gotten a little banged up. Pieces have fallen off the tripod (such as the light plastic handle) and the bag has been torn in some places.
We’ve now gotten three smaller tripods that can fit into a messenger bag. This should cut down on wear and tear since we’re not lugging them on our back.
Ethernet Cable
While not required, ethernet cables can make for a better broadcast. Wifi networks can be spotty and if the connection is dropped Google Hangouts will interrupt the broadcast.
Google Hangout
Google Hangouts on Air is a free service that allows you to live stream events and have them automatically uploaded to YouTube. While Hangouts are part of Google Plus, it’s use isn’t limited to just Google Plus.
The easiest way to do a Google Hangout on Air is to start one as your organizations page. After the last revamp, Google moved hangouts to a place that’s harder to find. You can find it by going to Home menu, then clicking Hangouts on Air. The button to start a hangout is at the top left.
When you open a hangout up, it will ask you to name the hangout and invite people. Unlike normal hangouts, you can’t make a live event in which anyone can just walk in. Normally, when we stream live events we don’t invite anyone.
Once we have the window up, we have to tell Google to use the external mic and camera. We then copy the embed link and place it into a blog post on our WordPress site just like we would a YouTube video. While it’s possible to link directly to the video, we like having it in a blog post so we can put links to speaker’s bios, app demos, and some information about what we’re broadcasting.
During the broadcast, we can use the “Screenshare” tool to show what is on our screen. During some of our broadcasts, we’ll also have a projector on our machine. This means that as we’re showing an app demo we’ll have a better picture than if we were filming the projector screen.
If we’re having multiple people on the hangout, we’ll use the cameraman tool to force the screen to only show what we want it to show. This is useful since Google Hangouts tend to automatically jump to the loudest person whether this is talking, a cough, or most commonly typing.
It used to be that Google Hangouts wouldn’t post videos to the organizations’ YouTube account, but rather the individual user’s account. Now, we can do it directly to the channel. We still embedded the final video to a blog post since we’ve found that Google Plus isn’t the most popular of networks.
The downside to using Google Hangouts is that it can be unstable at times. If the internet connection is slow, it will cause Hangouts to crash or show a ‘We’ll be right back’ message. It’s also a little bit of a process to get the video going and into the post. You’re not able to bring the URL up ahead of time. There’s also not an intuitive way to have a running discussion about the video expect through another medium like Twitter. Lastly, the only way to monitor the feed is to bring it up on a separate device. (If you’ve ever seen Christopher Whitaker during an event looking at his phone he’s either tweeting or watching the feed to make sure it’s working.)
iMovie
We use iMovie to improve the sound, add subtitles, and edit the videos for clarity. For reference, on a typical hack night we spend fifteen minutes doing introductions. All of those introductions gets put up on the live stream and recorded. When we download the MP4 file to edit, that’s one of the first things we cut.
The presentations can also get pretty long and so we’ll split the videos into parts and upload them one by one. We usually don’t like to have a video any longer than 15 minutes.
The downside to iMovie is that the process takes a long time. First, downloading an hour and a half video takes some time – even on faster internet connections. After the editing, it still takes time to process and upload the video.
However, iMovie is still a tremendously powerful piece of software and an invaluable tool for improving our blogs and videos.
Upgrades!
YouTube Live Events
After 300 videos, we’ve now gained access to YouTube Live Events. This means that we stream live events directly from our YouTube Channel. This also means we can set these events up in advance so that we can advertise the events a bit better. (This also saves time during event setup since we don’t have to create the hangout and go through that process.) YouTube also allows for live commenting during the event so it’s easier to converse about what’s going on.
This also helps unify our video offerings. Whereas before, we were directing people to the blog now we can direct them to the YouTube Channel where they can see our other videos.
Blue Yeti Microphones
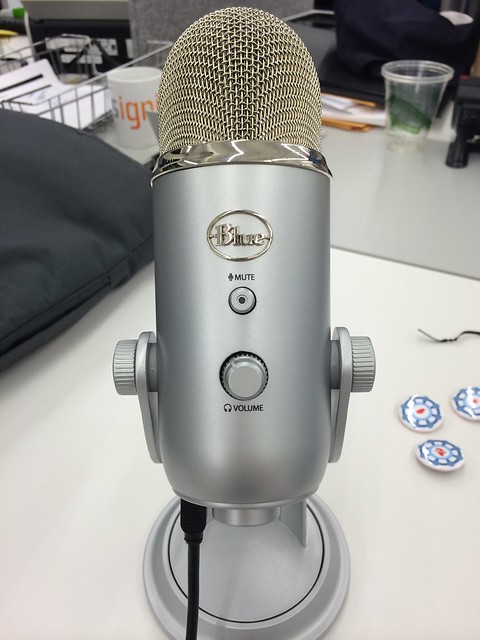
One of the biggest weaknesses of our current setup is the sound. We now have three Blue Yeti Microphones – microphones that made Wirecutter’s Best USB Microphones. These mics have multiple modes: Omnidirectional, single direction, and bi-direction. While these microphones are pretty big, they are still fairly portable. The Blue Yeti microphones pick up much more sound that the webcam does. We also bought USB extenders so that we can have the mic set up right near the speaker. (Blue recommends about 6 inches.)
Wirecast
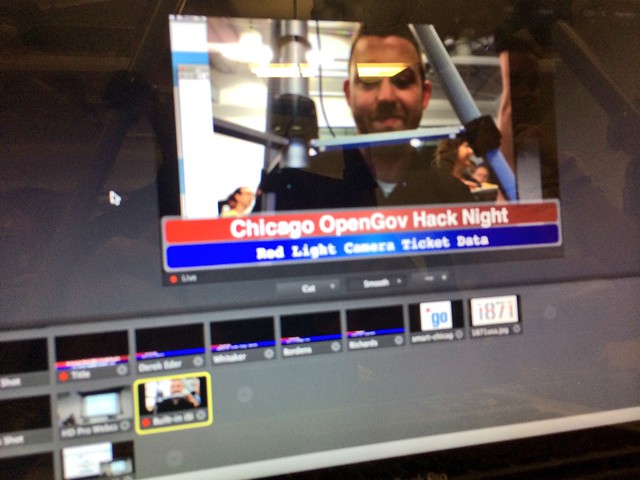
So, we mentioned that we now have three webcams for live streaming purposes. With YouTube Live Events, YouTube now allows us to have two cameras going at once. To achieve this, we’re using a program called Wirecast.
With Wirecast, we can add different ‘shots’ lined up during the live stream. Some of these shots are simply chyons (those things that run on the bottom of newscasts telling you who is speaking), while others are different cameras or desktop presentations. In the past, when we were doing the live stream and wanted to show you a desktop; we would do this awkward screensharing movement in Hangout. Now, we simply can cut to a desktop seamlessly.
This is going to be tremendously useful when streaming civic innovation events with multiple speakers and presentations. Combined with our new equipment, we’d then be able to showcase a main speaker then switch to showcasing an audience question. (Without spinning the camera rapidly and making you dizzy.)
The other thing that Wirecast does is it encodes the video on the laptop before sending it to YouTube. This means that we won’t lose video if the connection comes down because we’re able to save video as we’re streaming.
What’s next
You’ll start to see the new equipment being used starting at the OpenGov Hack Nights.
See you on the small screen!
